Lazy Panda

Developer

Posts
57
Comments
48
Likes
76
Posts
57
Comments
48
Likes
76
sidebar

Cordova Angular App with Responsive Layout with Camera plugin

Convert any Angular, React, Vue application into a Cordova-based hybrid mobile app. I have already converted many applications following mentioned tricks. 

Cordova has been using for hybrid mobile application development. Apache Cordova is formerly known as PhoneGap, after PhoneGap acquired by Adobe System is known as Apache Cordova. Cordova works as a platform that helps another framework (like Angular, React, Vue manly all kind of javaScript application) to interact with mobile OS using the Cordova layer. 


Use Cordova if you are:

  • A mobile developer and want to extend an application across more than one platform, without having to re-implement it with each platform's language and toolset.
  • A web developer and want to deploy a web app that's packaged for distribution in various app store portals.
  • A mobile developer interested in mixing native application components with a WebView (browser window) that can access device-level APIs, or if you want to develop a plugin interface between native and WebView components.

Let's start with creating a simple Cordova with angular, bootstrap 4, and camera plugin. 

Prerequisite:

  • nodejs
  • angular-CLI
  • Cordova
  • XCode / Android Studio 


Create Angular Application with Cordova:

Open your terminal and create an angular application using the following command - 

  • ng new LZCameraApp

Once done, go inside the directory using $cd LZCameraApp and run the below command to create Cordova

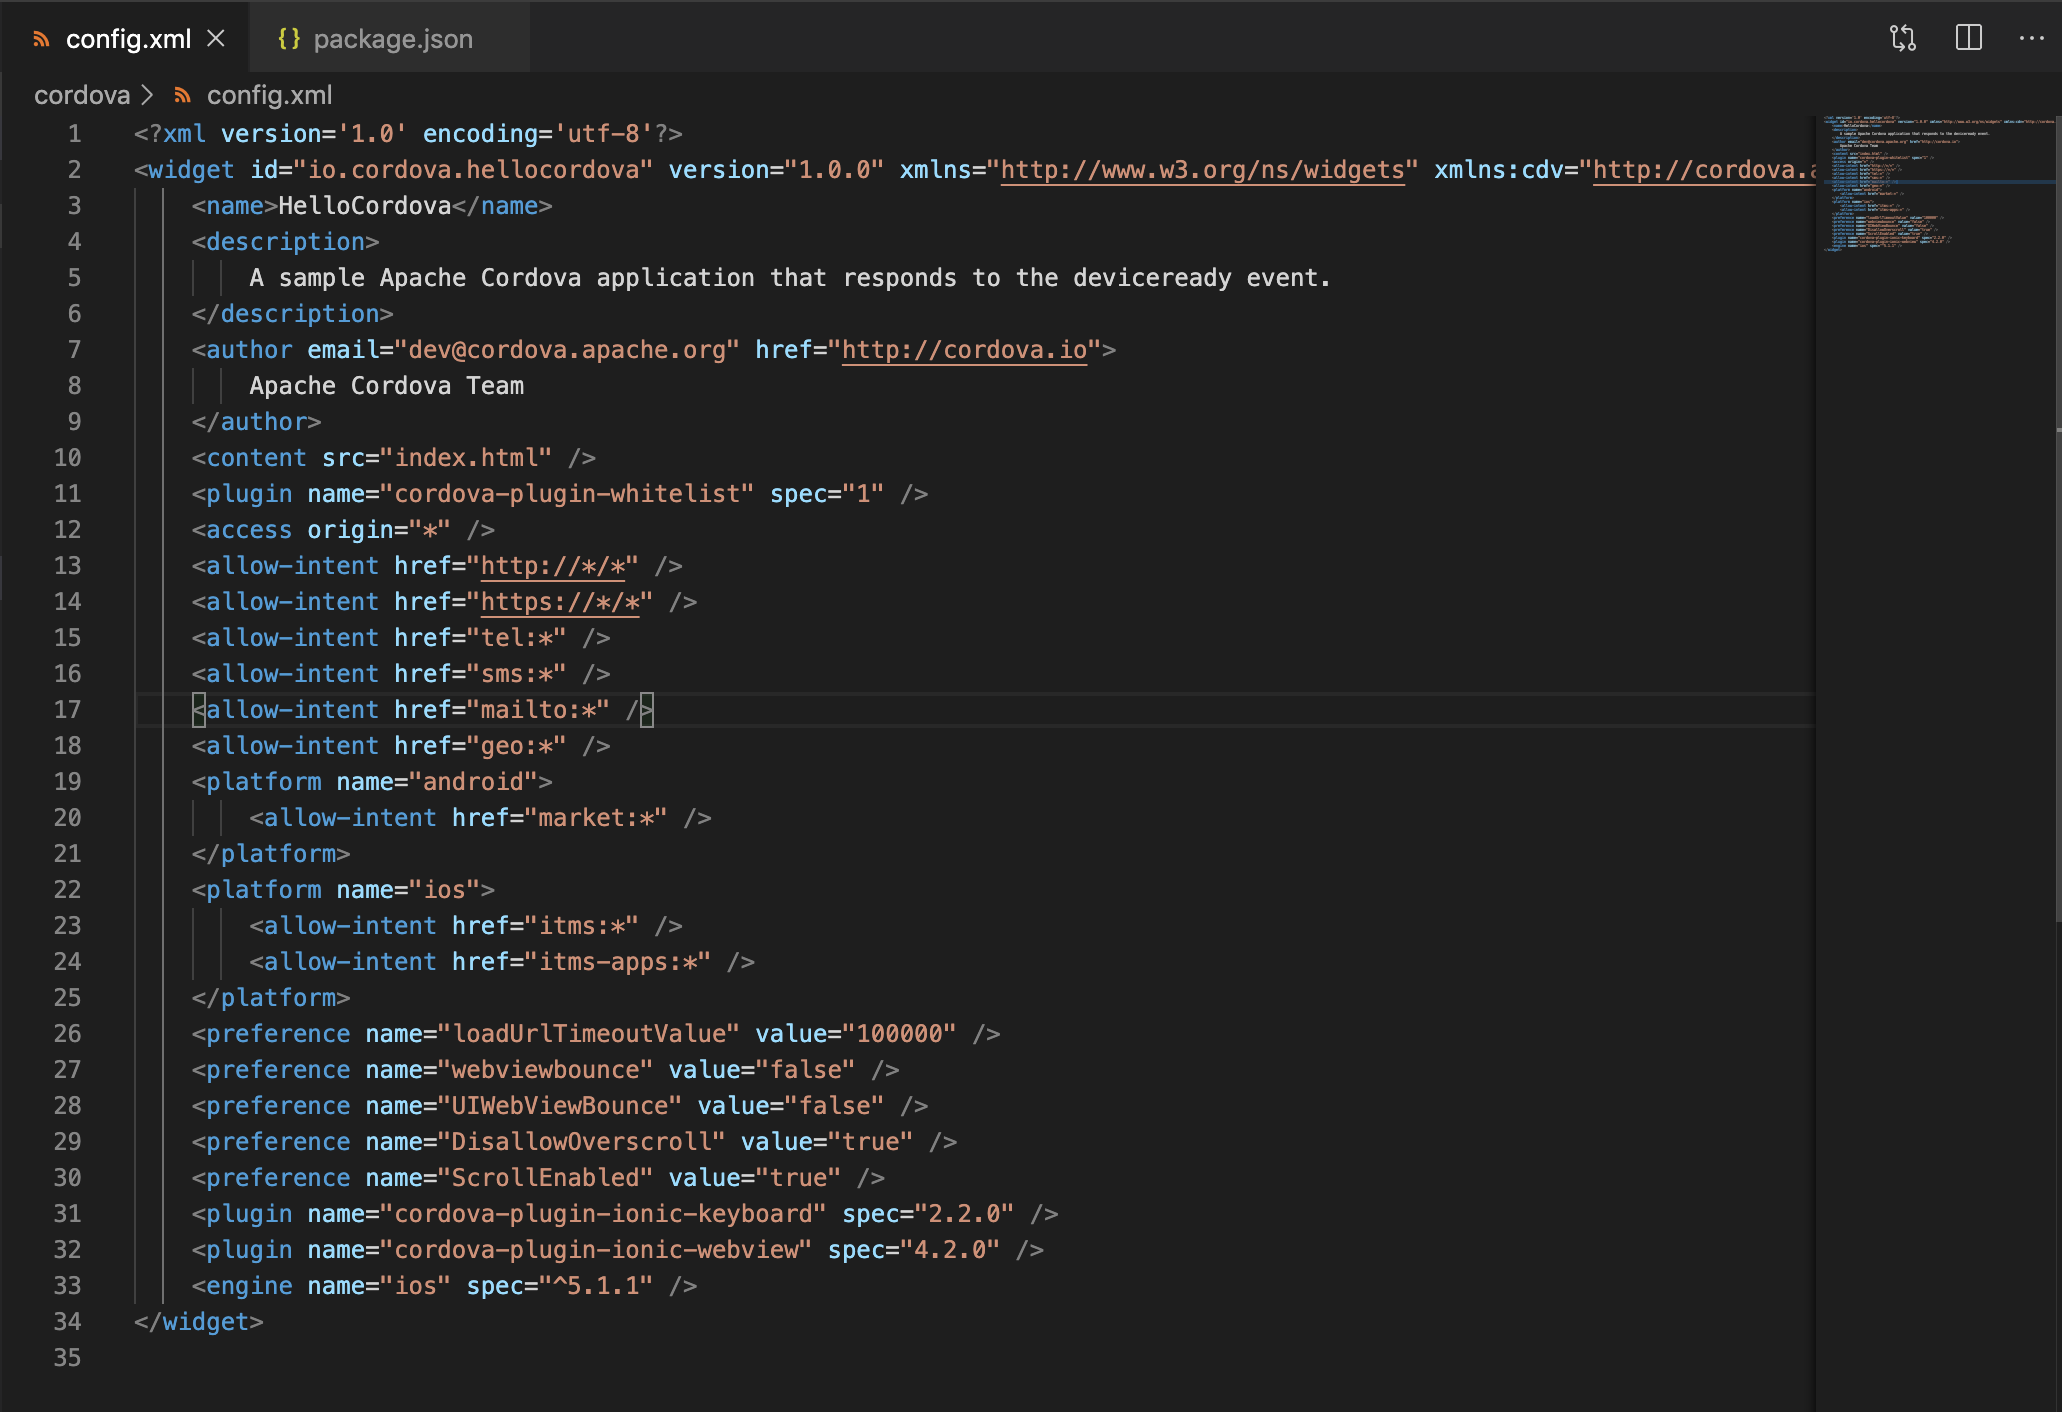
  • cordova create cordova

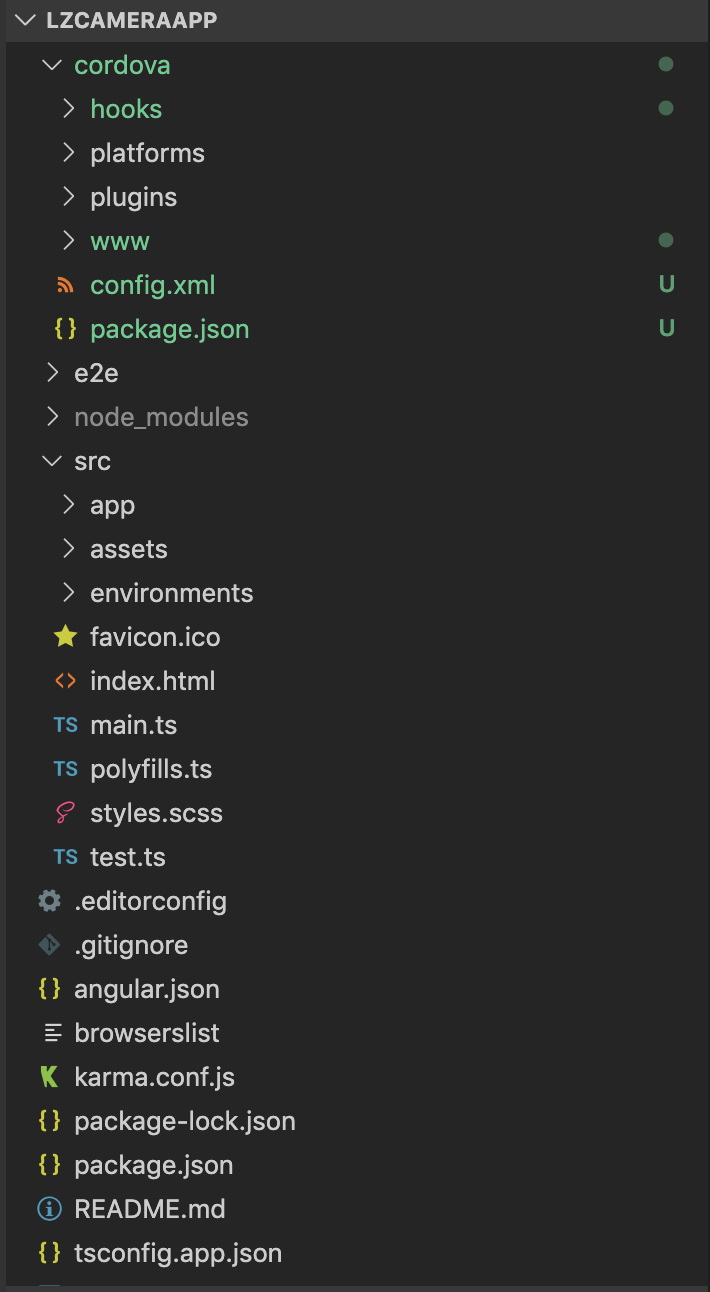
Once done the folder structure will look like below - 

angular8-cordova


Open main.ts file, and update the code accordingly -

import { enableProdMode } from '@angular/core';

import { platformBrowserDynamic } from '@angular/platform-browser-dynamic';

import { AppModule } from './app/app.module';

import { environment } from './environments/environment';


if (environment.production) {

enableProdMode();

}

const bootstrap = () => {

platformBrowserDynamic().bootstrapModule(AppModule).catch(err => console.error(err));

};

// tslint:disable-next-line:no-string-literal

if (typeof window['cordova'] !== 'undefined') {

document.addEventListener('deviceready', () => {

bootstrap();

});

} else {

bootstrap();

}


Open index.html file and add the following line in <head> tag.

  • <script type="text/javascript" charset="utf-8" src="cordova.js"></script>

Open the package.json file under cordova directory and update the command accordingly - 

{

"name": "helloworld",

"displayName": "HelloCordova",

"version": "1.0.0",

"description": "A sample Apache Cordova application that responds to the deviceready event.",

"main": "index.js",

"scripts": {

"test": "echo \"Error: no test specified\" && exit 1",

"cordova": "cordova build ios"

},

"keywords": [

"ecosystem:cordova"

],

"author": "Apache Cordova Team",

"license": "Apache-2.0"

}


Using the terminal, go inside the Cordova directory and run the following commands - 

  • cordova plugin add cordova-plugin-ionic-webview
  • cordova plugin add cordova-plugin-ionic-keyboard
  • npm i cordova-ios
  • cordova platform add ios

Once done, open your XCode project and change the bundle identifier according to your signing certificate & Provisioning profile. 

Open config.xml file and check all values are updated accordingly like below -

config-xml

Open package.json file from your angular project, and update accordingly -

"scripts": {

"ng": "ng",

"start": "ng serve",

"build": "ng build",

"test": "ng test",

"lint": "ng lint",

"e2e": "ng e2e",

"cordova-run": "npm run cordova-build && npm run --prefix ./cordova cordova",

"cordova-build": "ng build --output-path ./cordova/www/"

},


Now your Cordova with the angular project has been set up, now time to build and run the application on the simulator - (Screenshot added)

angular8-cordova


Check out the complete demo in YouTube with camera plugin integration

Feel free to add comments & suggestions below.

Happy Coding! smiley

- Lazy Panda Tech