Optimize Angular Application Performance and Improve LCP
As a Single page application with modern JavaScript frameworks like Angular, React, Vue always has a shortcoming in bundle size, initial application load time, and Largest Contentful Paint. In this article, I am going to discuss some lighthouse problems and how I have overcome those.

My current blog site (https://lazypandatech.com) build using Angular and I have used the following steps to optimize application Performance and Improve the Largest Contentful Paint (LCP) which gradually improved my site SEO rate.
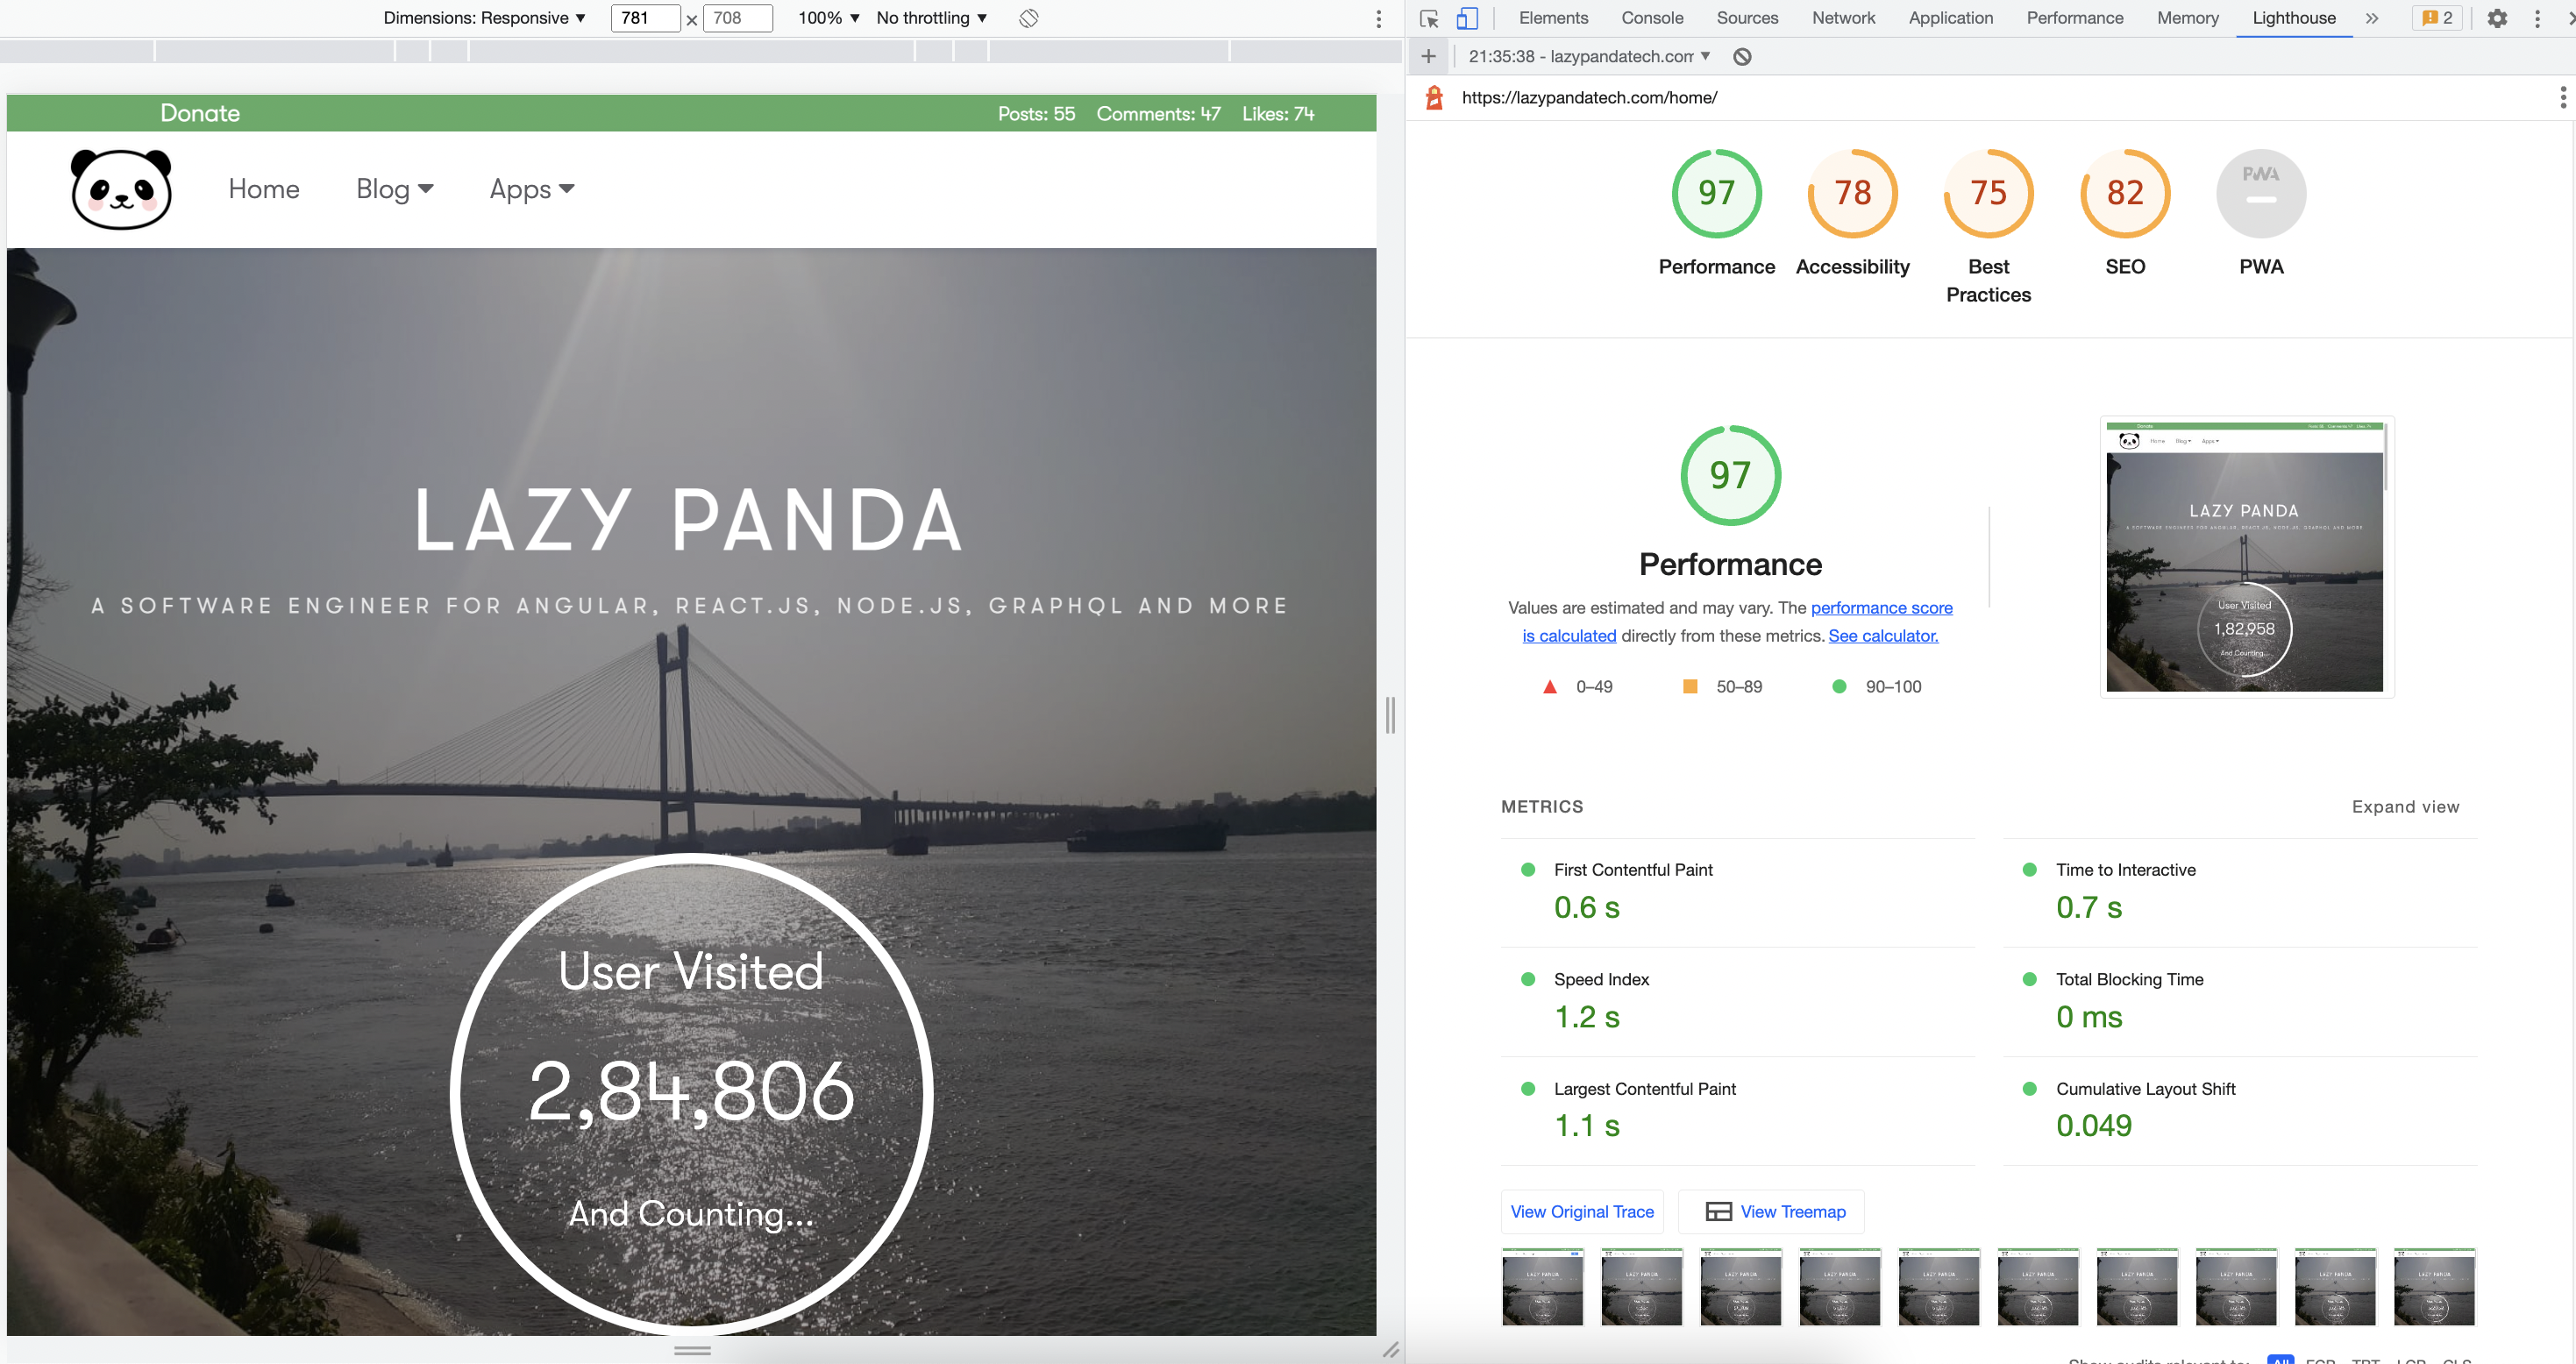
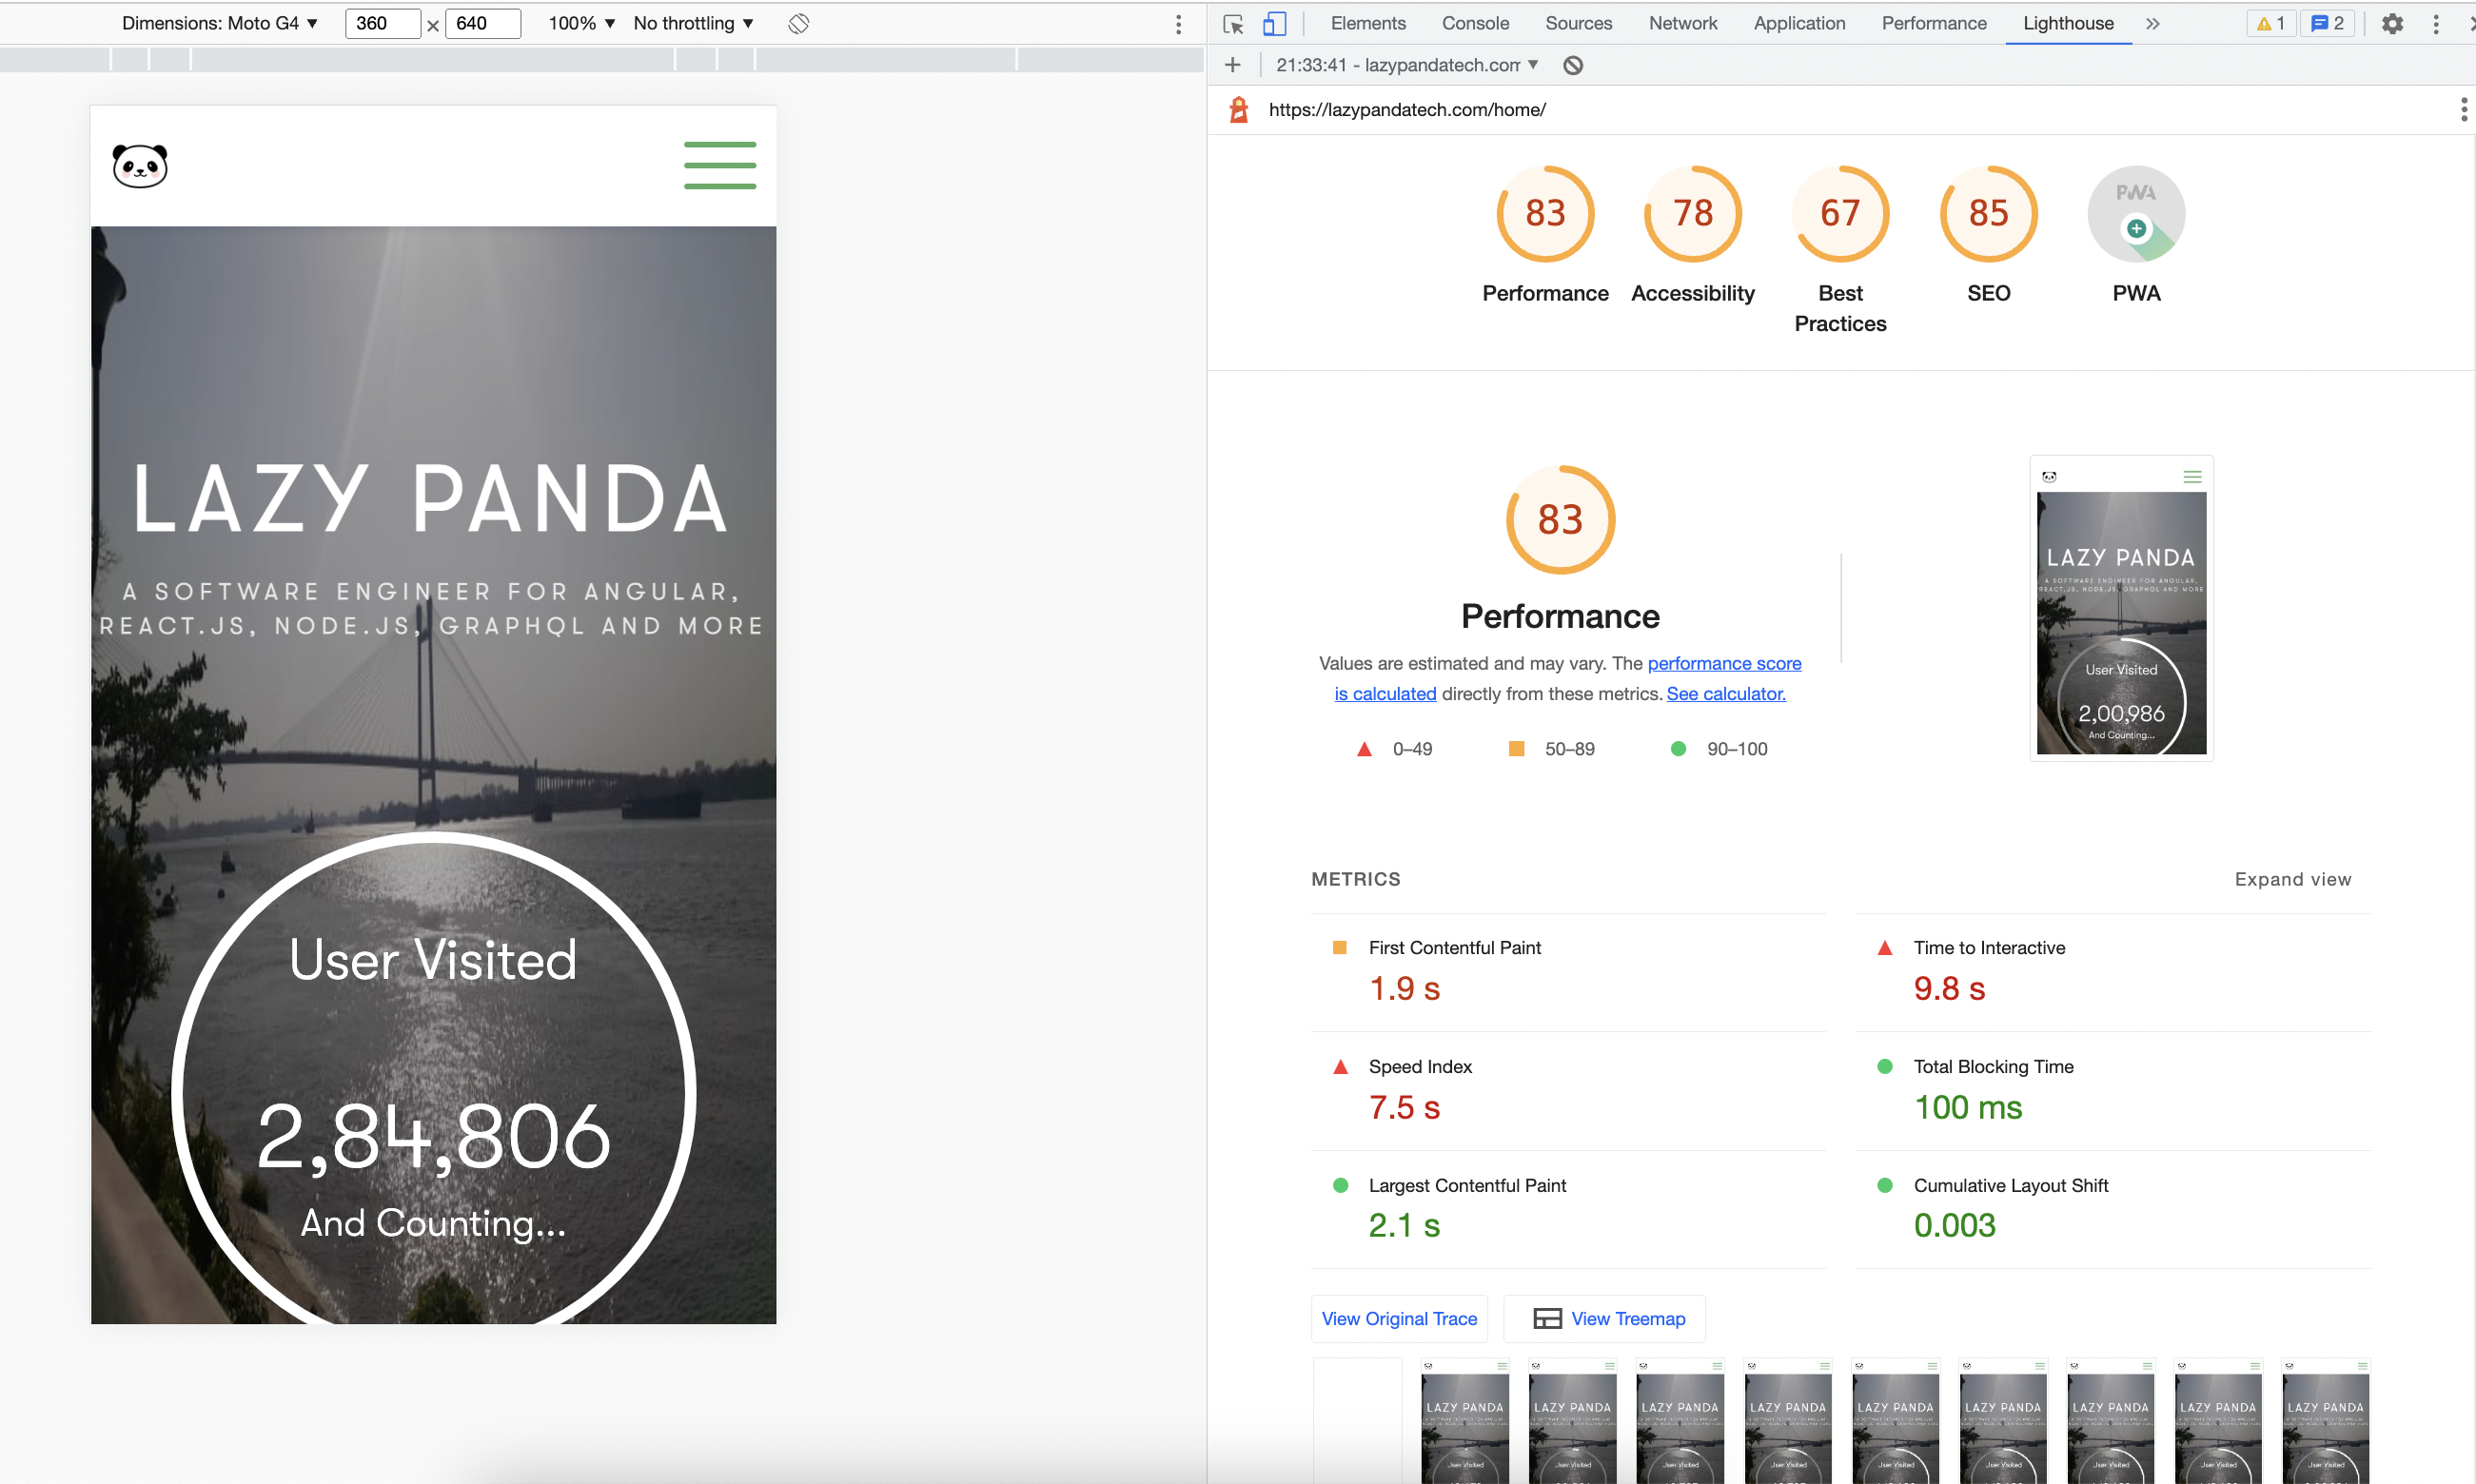
Those are the following Reports from Google Chrome Lighthouse -
Lighthouse Report - Desktop

Lighthouse Report - Mobile

For those who are unaware of the Core Web Vitals, I would suggest checking out the official documentation. https://web.dev/vitals/#core-web-vitals
Core Web Vitals are the subset of Web Vitals that apply to all web pages, should be measured by all site owners, and will be surfaced across all Google tools. Each of the Core Web Vitals represents a distinct facet of the user experience, is measurable in the field, and reflects the real-world experience of a critical user-centric outcome.
The above documentation tells about how it can be improved and I really found it difficult to apply all ideas to my Angular web app, And then I came up with several optimizations, such as -
Keep Updating the angular version periodic basis
Just like the Web and the entire web ecosystem, Angular is continuously improving. Angular balances continuous improvement with a strong focus on stability and making updates straightforward. Keeping your Angular application up-to-date enables you to take advantage of leading-edge new features, as well as optimizations and bug fixes. Documents can be found here - https://angular.io/guide/update-to-latest-version
Using Angular Universal for SSR ( Server Side Rendering) or Prerender
Angular Universal will boost application performance and enable the application for SEO (Search Engine Optimization). I have two blogs on SSR and prerender, feel free t check those up.
-
SEO friendly URL with Angular 9 Angular Universal and Prerender strategy
-
SEO Enablement to an Angular application
Using Angular PWA configuration
PWA configuration on the SSR or Prerender enabled application again boosts the application performance and load time. It also supports installable binary across mobile or desktop devices. Background processing in service workers in a separate thread is also an add-on feature that can be leveraged based on needs. Please check the following blog on Angular with SSR and PWA configuration.
Angular build creation with Custom Webpack
Once you have all the above features in your application, still you might find there is a lot of discripency on different tools like Lighthouse, GTMatrix, etc. Those are the following issues you might be seen on any application performance report.
- Reduce unused JavaScript
- Eliminate render-blocking resources
- Reduce initial server response time
Reduce unused JavaScript
This is a common problem for most of the applications, and for that, I have had to set LazyLoading on modules and a few components as well.
Eliminate render-blocking resources
For all external <script> I have added async there and for all <img> tags I have added lazyLoad for images. Also, instead of passing a big images I have passed different resolution images as a srcSet. This really helps a lot to optimize the application.
Reduce initial server response time
The angular bundle can be compressed and enable .gz (gZip). While the browser requests for any new path or page, the server will serve the gzipped file and reduce the loading time. For that, I have used a custom webpack to create compressed files.
Custom Webpack installation
First I installed @angular-builders/custom-webpack and then changed the angular.json file accordingly.
"architect": {
"build": {
"builder": "@angular-builders/custom-webpack:browser",
"options": {
"customWebpackConfig": {
"path": "./webpack.config.js",
"replaceDuplicatePlugins": true
},
}, // ...
}, // ...
// ...
}
Now, install compression-webpack-plugin, and create 'webpack.config.js' file as well.
npm install compression-webpack-plugin --save-dev
const CompressionPlugin = require('compression-webpack-plugin');
module.exports = function mutateBrowserConfig(config) {
if (config.mode === 'production') {
config.plugins.push(new CompressionPlugin({
compressionOptions: { level: 1 },
minRatio: 0.8,
algorithm: "gzip",
}));
}
};
Once you have done, run the application with a production build and check the lighthouse report. I believe you would be happy to see the most optimized report so far.
Happy Coding!


Loading comments...