Host web application in AWS using s3, CloudFront and route53
In this blog, I am keen to share my experience with website hosting in AWS. AWS is really useful. Its free tier allows developers who are running things for their personal projects, or on a small scale, to deploy and run code without having whole servers for their infrastructure. Hosting a Single-Page-Application (SPA), build by a javascript framework like Angular, React you do not need to have a server, all you need is somewhere that will serve a set of static files and all the website logic is done client-side by JavaScript.
Why do I choose AWS for my web application hosting?
After building my web application, I was searching options to host my application, I checked for droplets, and DigitalOcean, and believe me I do not need all of their overkilling features, and have no idea how much I had to pay at the end as well. Then I check for AWS free tire options, and it allows me to deploy my application with almost no cost. But this no-cost also has something in behind which I need to pay every month.
CloudFront - CloudFront will charge a little at cost - $1 to $1.5 every month
S3 Bucket - if you do not cross the limit of data transfer (upload/remove), you do not need to pay.
Route53 Hosting - free for the time being
There is a term, that is being used every time Static web hosting and Dynamic web hosting. What is the difference -
Static Web Application:
A static website delivers content in the same format in which it is stored. No server-side code execution is required. For example, if a static website consists of HTML documents displaying images, it delivers the HTML and images as-is to the browser, without altering the contents of the files. Static websites can be delivered to web browsers on desktops, tablets, or mobile devices. They usually consist of a mix of HTML documents, images, videos, CSS style sheets, and JavaScript files. Static doesn’t have to mean boring—static sites can provide client-side interactivity as well. Using HTML5 and client-side JavaScript technologies such as jQuery, AngularJS, React, and Backbone, you can deliver rich user experiences that are engaging and interactive.
Some examples of static sites include:
Marketing websites
Blog
Product landing pages
Team homepages
A website that lists available assets (e.g., image files, video files, and press releases) allows the user to download the files as-is
Proofs-of-concept used in the early stages of web development to test user experience flows and gather feedback
Dynamic Web Application:
Dynamic websites can display dynamic or personalized content. They usually interact with data sources and web services and require code development expertise to create and maintain. Other examples of dynamic sites include:
E-commerce shopping sites
News portals
Social networking sites
Finance sites
Most other websites that display ever-changing information
Before we proceed further, here is the to do list -
Search for domain availability and buy your domain name
Sign up for your free account on AWS
Create an S3 bucket and configure it with public access
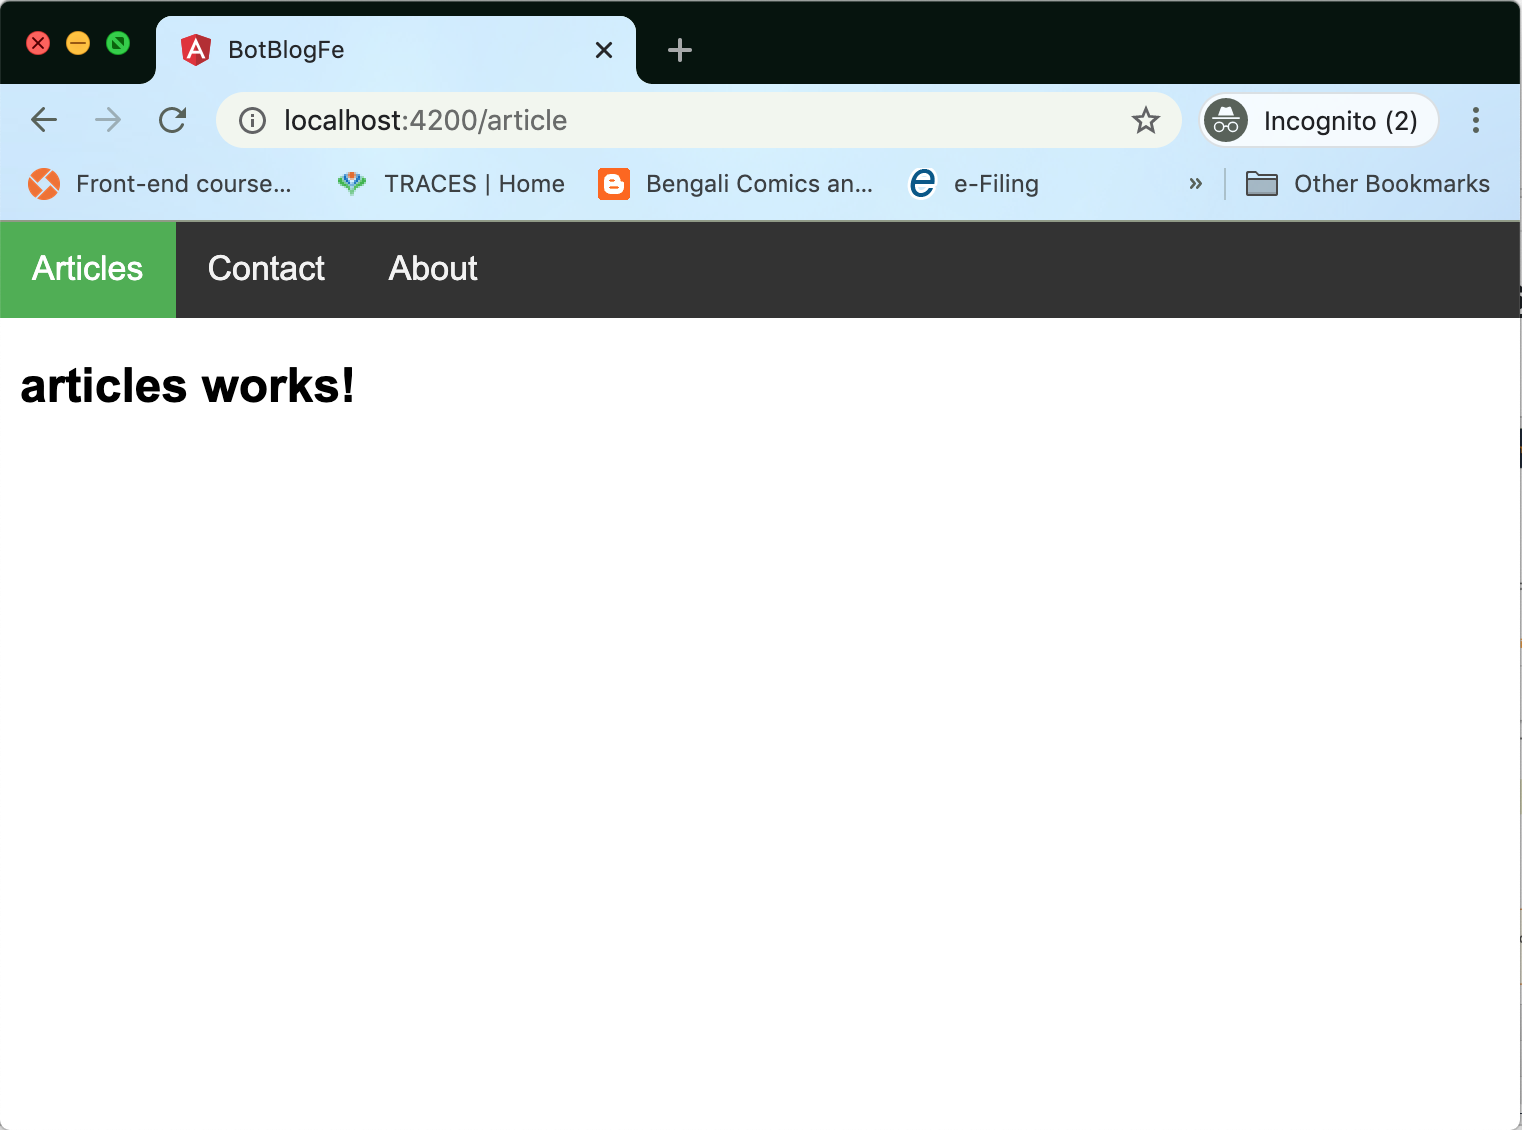
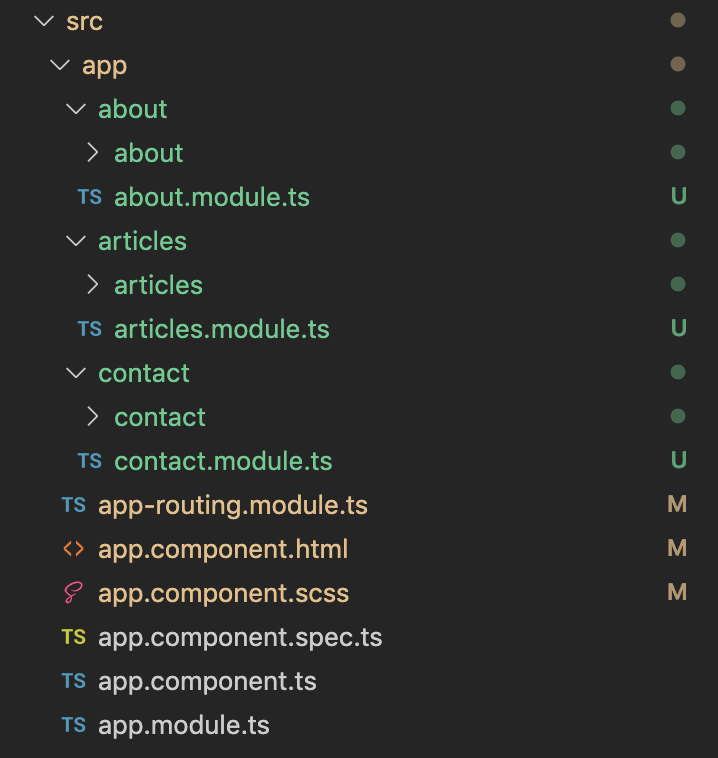
Create an angular Application (with the router) and upload it in an S3 bucket using shell script
AWS certificate manager to create an SSL certificate
Create CloudFront distribution
Route53 for configuring hosted zones
Search for domain availability and buy your domain name
I recommended using google Domains for your application. I also search a lot on different site and then set my mind to buy the doamin from google for below reason -
For my application, I have used Google Analytics, GTM and google doamin, those are helping to rank my web pages quickly (I checked most of my pages has been crawled by google and everyday application gets few user to visit by organic search)
Google domain keeps your account secrect and Privacy Protection is there.
Lastly, I found it bit cheaper then other site like godaddy, Namecheap, BigRock.
So buy any name for your application, which we are going to use in later stage.
Sign up your free account in AWS
Create an AWS free account using your credit card, and very few amounts will be deducted and later will return back to your account to verify the card details. There are many features are included in the free account, but I would suggest before using those please read carefully the Terms & Conditions. Cloud computing is very tricky, if you don't get it properly but still exploring, it may cost you a lot. So read the documentation first and then start using it.
After your account is set up, please navigate to your email > My Security Credentials > Access Keys (access key ID & secret access key)
Please save the access key and secret key in a text file for later use as well
Create S3 bucket and configure with public access
Open the S3 bucket and create a new bucket and named it as your website going to be. In my case, I am going to create bot.lazypandatech.com as a bucket name. During bucket creation please make it public access and set the Bucket policy & CORS Configuration as well like below -
Run the script from your terminal by './upload.sh' and all code will add to S3. Open AWS S3 and select your bucket > Properties > Static Web Hosting > set index.html. Open the URL in the browser, you should see you application running with AWS domain and reloading/refreshing is also throwing some errors.
AWS certificate manager to create an SSL certificate
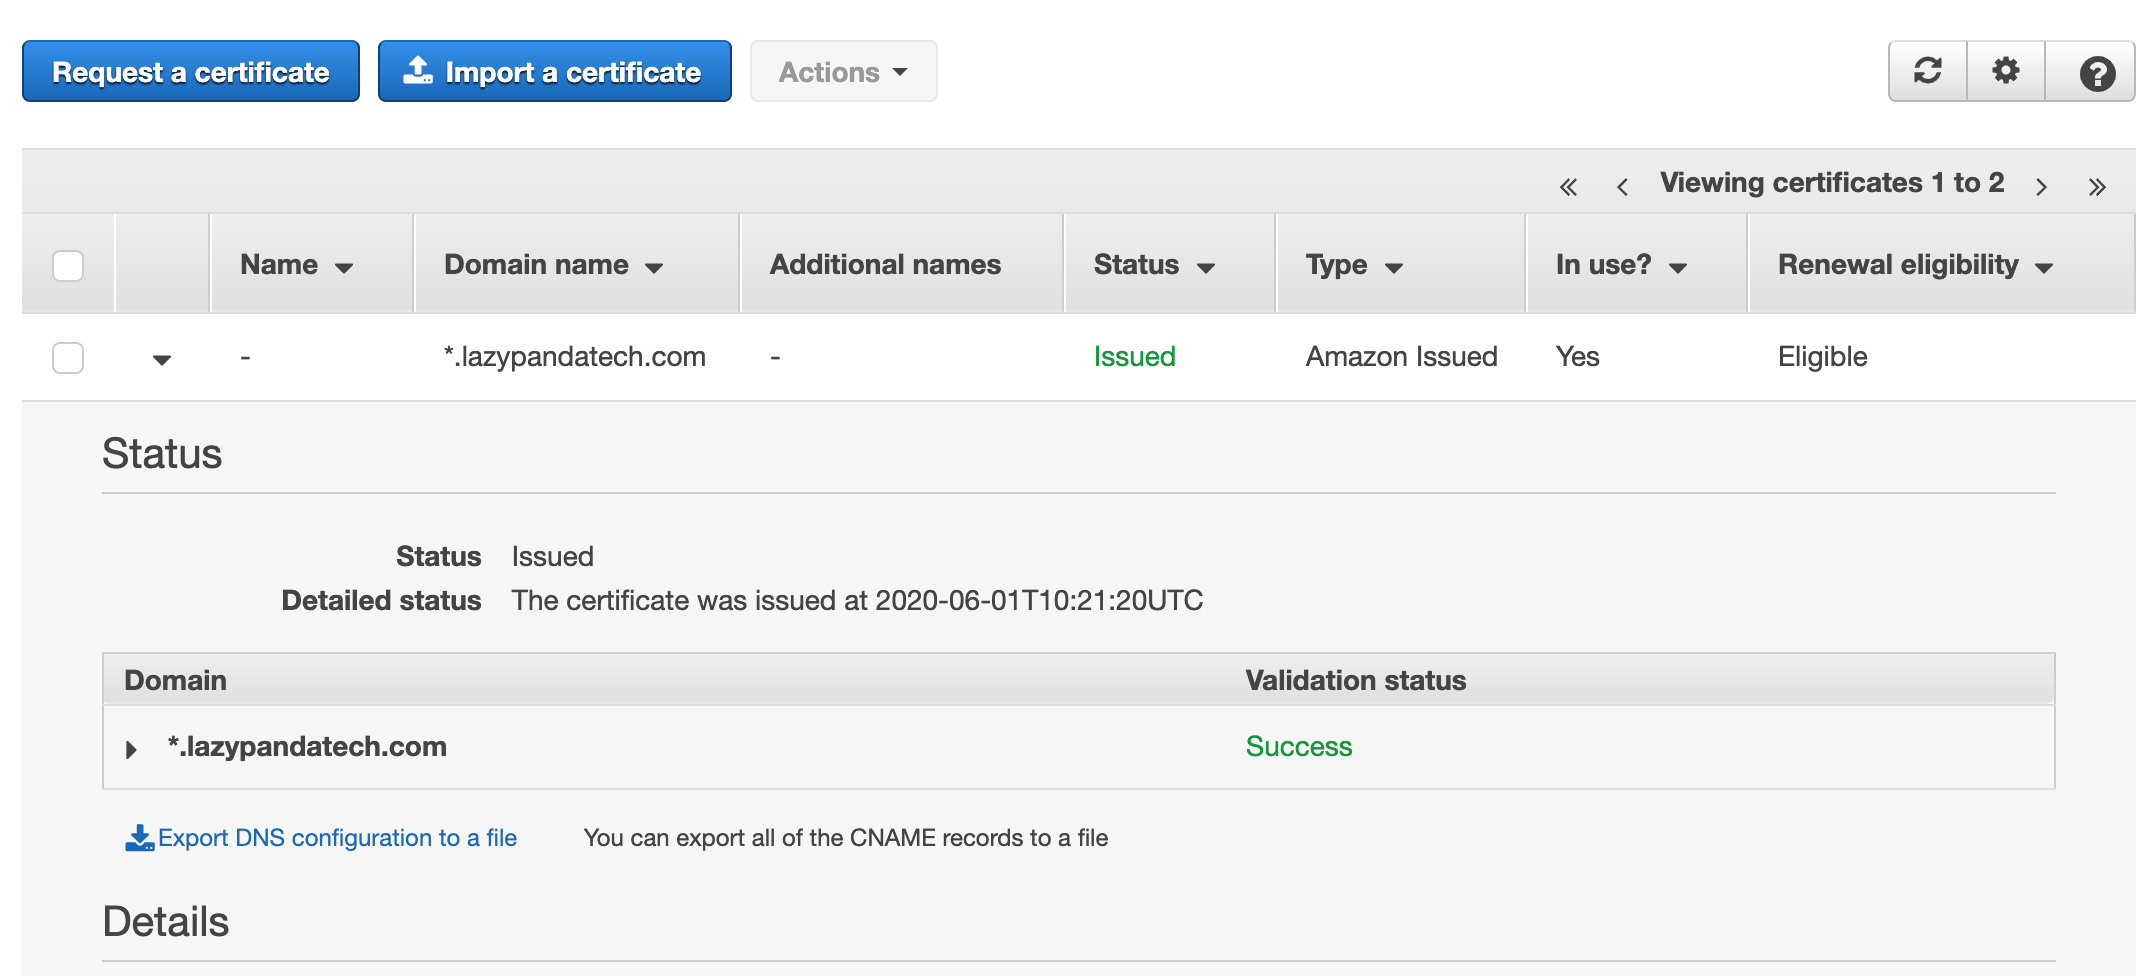
Open the AWS console again, and change the location to US East (N.Virginia) us-east-1 and then open Certificate manager, request a certificate. You’ll need to validate your domain ownership by email or directly with DNS. I would suggest always verifying ownership by DNS validation. Once you’ve requested your certificate you’ll get something like this (except the status will be pending). Click on the “Export DNS Configuration file”:
It will take few time up to 30 min to reflect the changes
Create CloudFront distribution
Amazon CloudFront content delivery web service integrates with other AWS products to give you an easy way to distribute content to users on your website with low latency, high data transfer speeds, and no minimum usage commitments.
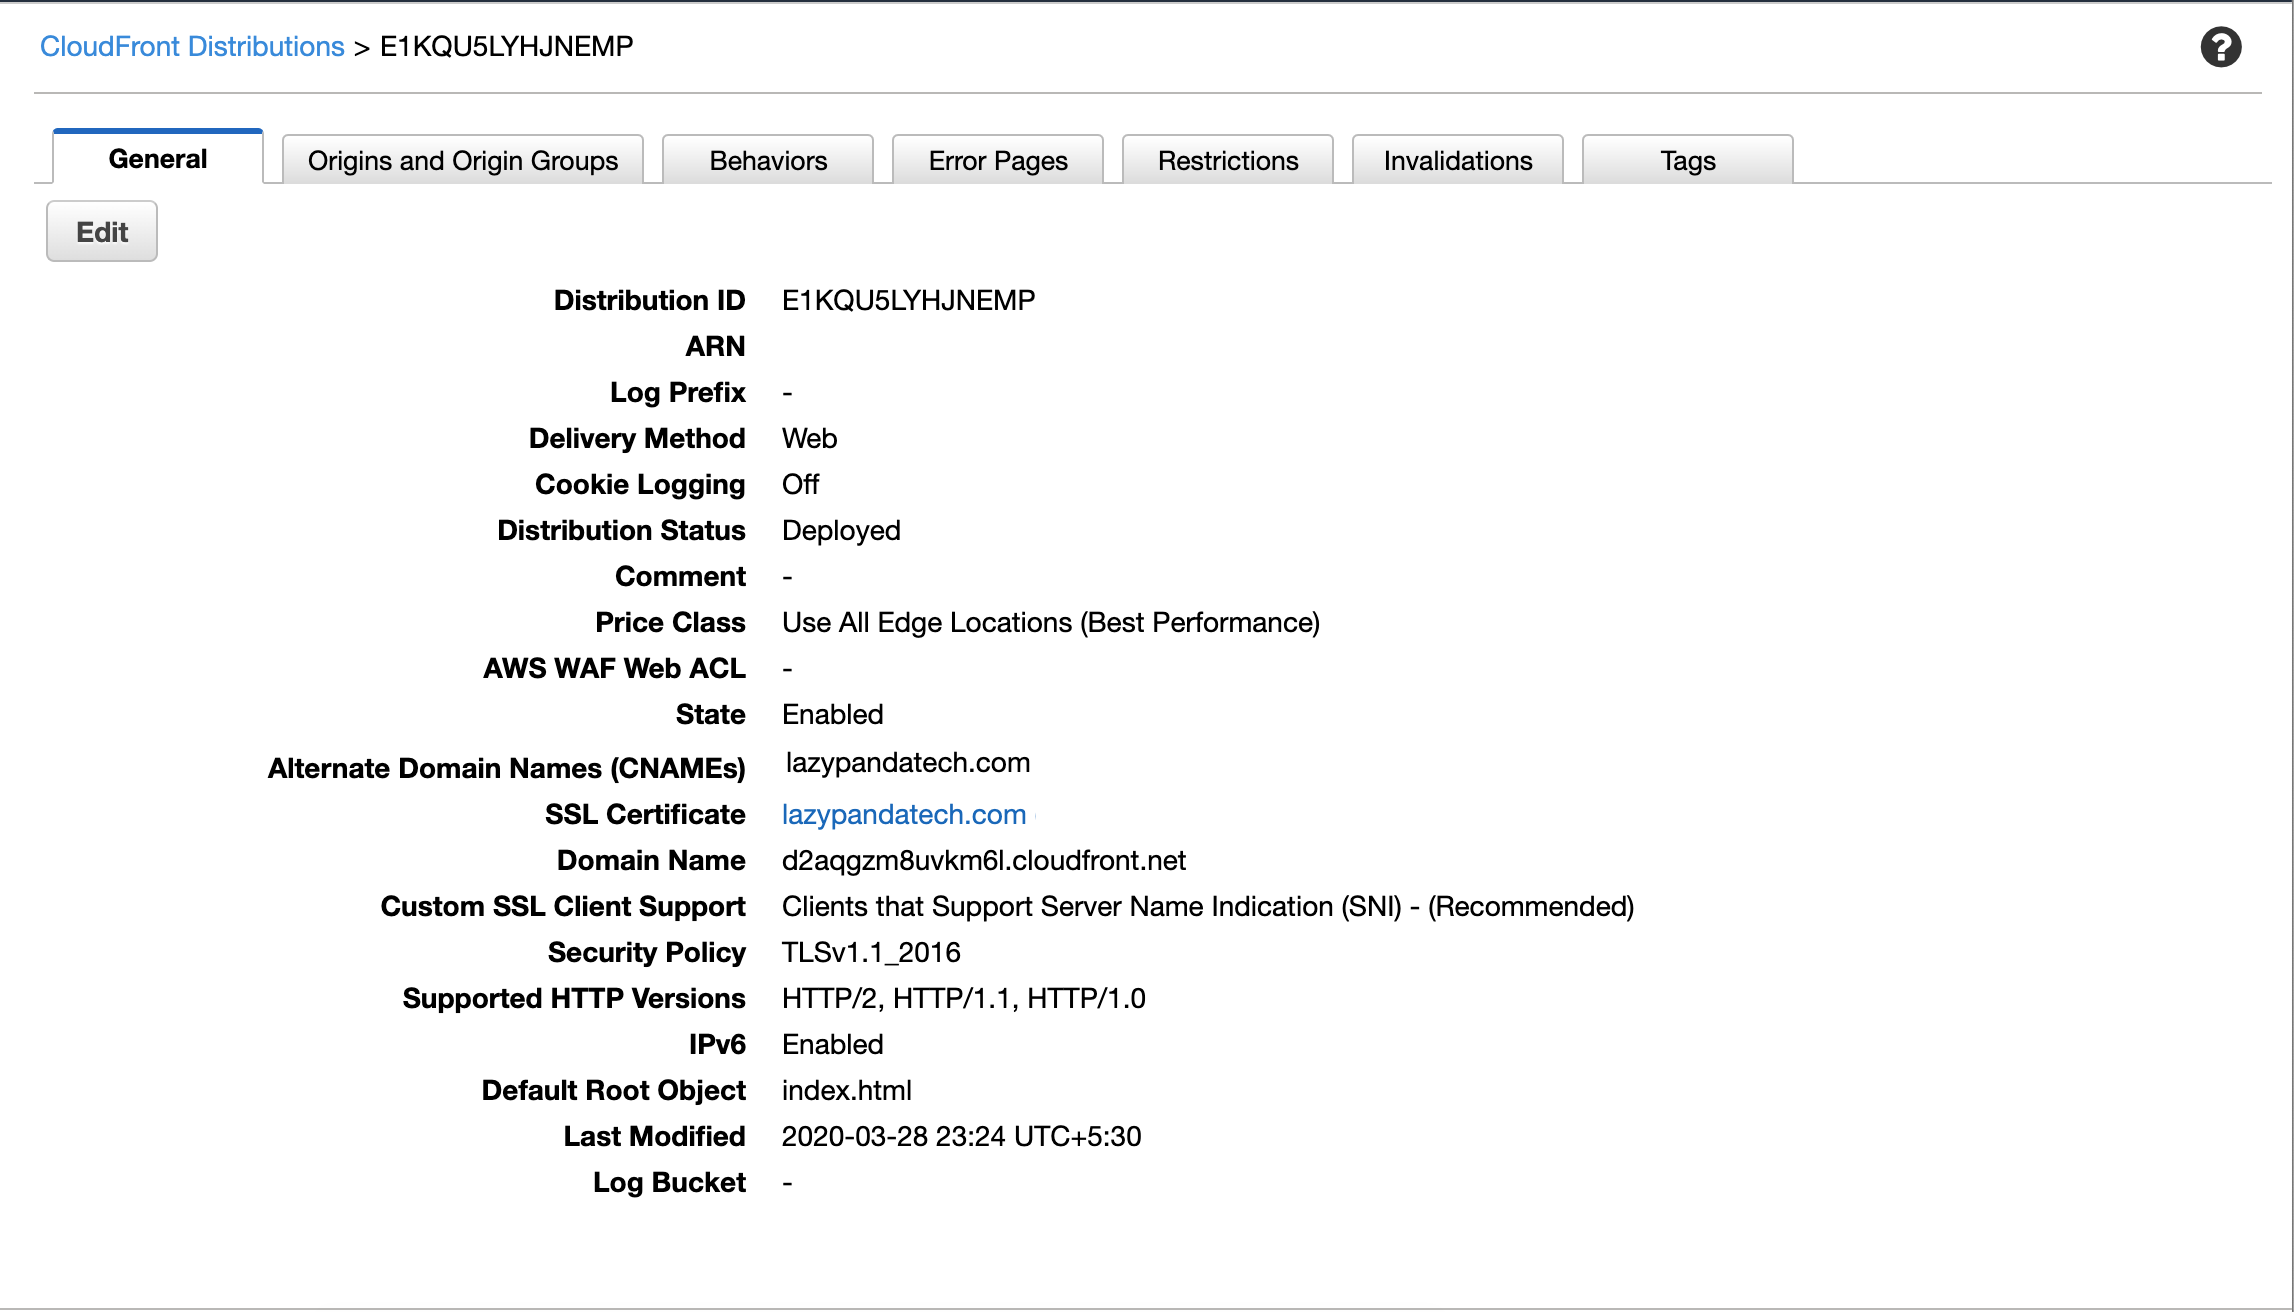
Now click on Create Distribution. CloudFron is not specific to any region as it will work globaly. To set up your CDN, folloe the below steps -
Select your bucket name from the drop down list
Choose 2nd Option - Redirect http to https.
Add the Alternate Domain Name - CNAME - (in my case it is bot.lazypandatech.com)
Choose the SSL certificate (*.lazypandatech.com in my case).
Then create
It will take few time to reflect on the changes. Once you got success, copy the CDN URL, and paste it to any text file.
Open distribution, select the 'Error Pages' tab, and modify the Error response settings in AWS. (It will not show any error response when you refresh the page)
Also, Open the invalidation tab, and set '/*'. Whenever you upload your code to S3, please add invalidation so that your code will be refreshed all the different servers and the latest update will be reflected immediately else it will take a lot of time to reflect.
Once done please save the distribution, and proceed for the next step.
Route53 for configuring hosted zones
It's time to connect the domain you bought on your DNS registrar with CloudFront and S3. Route53 acts as the bridge for that. (In my case it is lazypandatech.com OR if you wanted to create a subdomain, it would be looks like bot.lazypandatech.com)
Create a Route53 hosted zone and set your domain. Make it public.
You'll be given 4 NS records. Copy and paste the nameservers into your external domain administration page. In my case, I have updated the same AWS domain to the google domain site.
Create a record set and leave the name empty (it will default to example.com). Then:
Set the type to "A - IPv4 address"
Respond with "Yes" to "Alias" and set the alias target to your CloudFront distribution URL.
Keep the routing policy as "Simple" and, based on your budget and needs, enable or disable "Evaluate Target Health"
It takes time to show your DNS propagation. So wait for some time and try again or refresh the browser to check if your site is available.
Hope you enjoy your first website hosting, if you have any suggestions please comment below.


Loading comments...